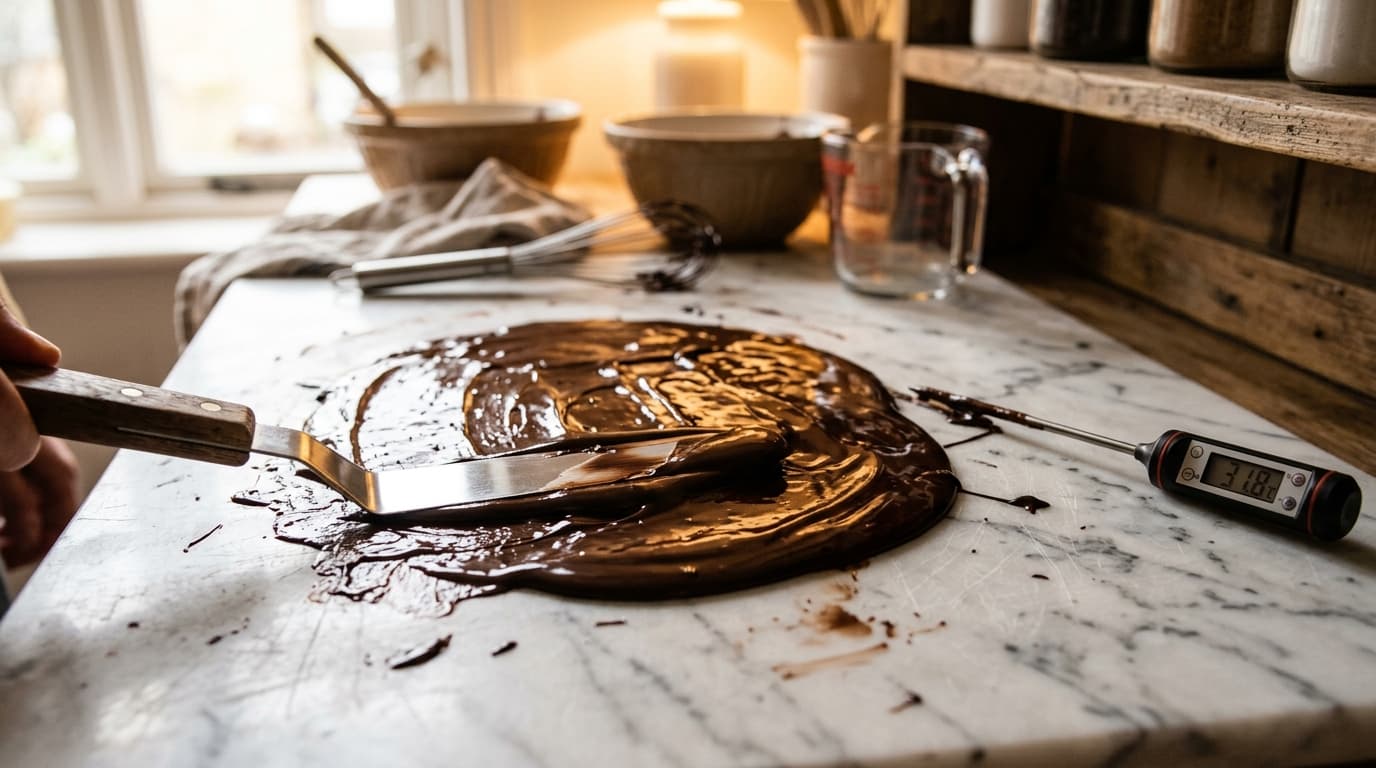
Tempering chocolate means taking it through three temperatures so the cocoa butter crystallises in its stable form: 50-55 °C, then 28-29 °C, then 31-32 °C for dark. The easiest method at home is called seeding. Here is the gesture, the equipment and the traps.
Why do you need to temper chocolate?
To obtain form V of the cocoa butter. It is the only one of the six known crystalline forms that gives chocolate a real gloss, a clean snap under the finger, and enough contraction on cooling to release from a mould on its own.
Cocoa butter is a temperamental fat: it can set in six different structures, numbered I to VI, and five of them are soft, dull or unstable. Chocolate that is melted and then simply left on the worktop crystallises in a mix of those forms. It hardens, but it stays matt, it sticks to the mould, and it grows a grey veil within days. Tempering changes nothing about the recipe: it organises the set.
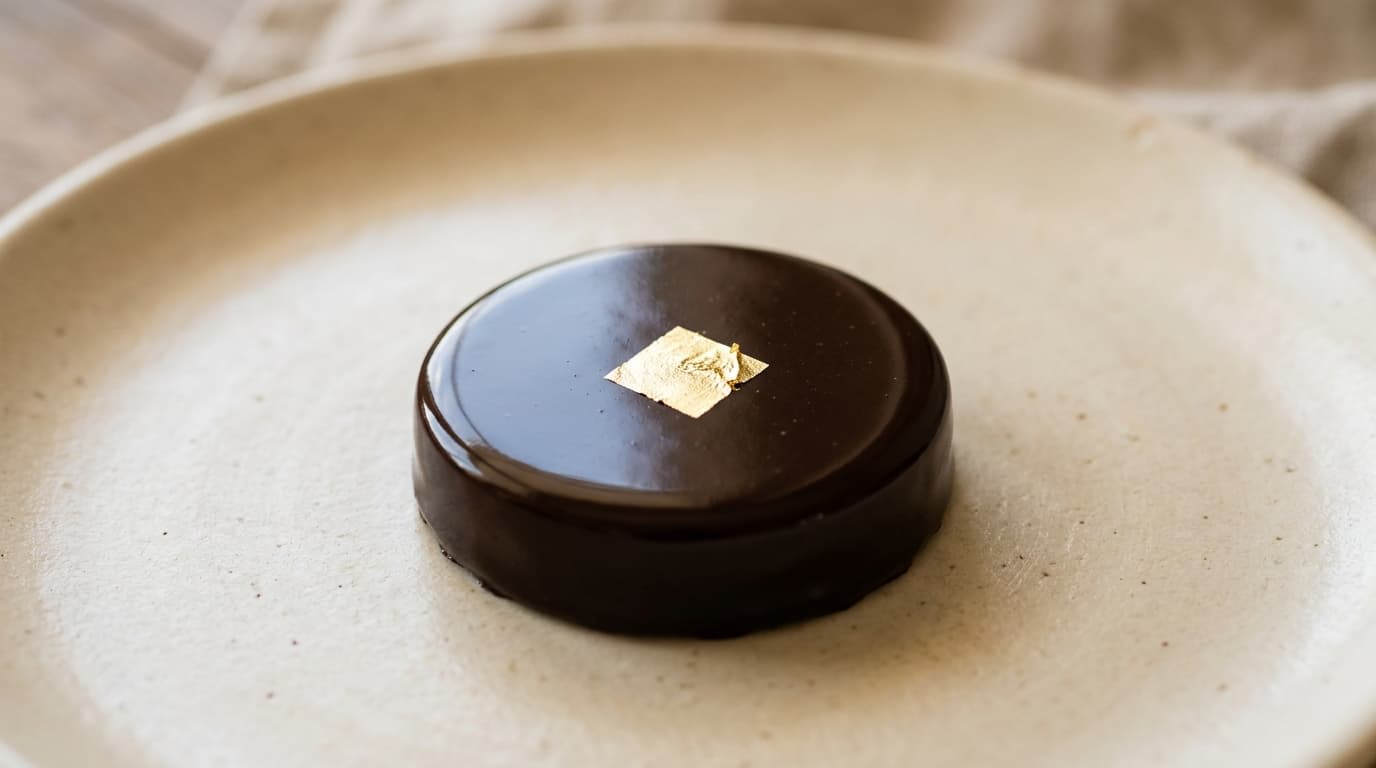
I ran the test one Sunday in February, two batches of enrobed discs from the same Callebaut 811, one tempered, one just melted. At tasting the flavour was identical — that is the one thing tempering does not affect. Everything else differed: the tempered discs snapped and were still glossy eight days later, the others were soft, grey and lifeless by the next morning.
What equipment do you need, and what does it cost?
A digital probe thermometer, a spatula, a mixing bowl and a saucepan. Budget €20 to €30 if you're starting from scratch, and nothing at all if you already bake.
€15-25
Probe thermometer
25-35 min
For 400 g
18-20 °C
Room temperature
The thermometer is the one purchase you cannot skip. A fast-read digital probe, at fifteen or twenty euros in a supermarket or a baking supply shop, is plenty: you work on two-degree margins, not two-tenths. Infrared thermometers read the surface, not the mass — they will happily show 29 °C on chocolate sitting at 33 °C at the bottom of the bowl.
The rest is common sense. A flexible spatula to scrape the sides, a round-bottomed bowl, a slightly narrower saucepan for the bain-marie, and a dry cloth within reach. The marble slab, the tempering machine and the polycarbonate moulds come later, once you have the gesture.
On the chocolate itself the budget is quickly settled: a 400 g bag of Callebaut 811 callets is listed at around €8.39 at Colruyt as I write, just under €21 per kilo. Enough to enrobe a good fifty discs. To choose between the references available in Belgium, we covered the question in our guide to Belgian chocolate for baking.
What is the temperature curve for dark, milk and white chocolate?
Three different curves, and the gap matters: white works three degrees lower than dark, and it burns far faster.
| Chocolate | Melting | Crystallisation | Working temperature |
|---|---|---|---|
| Dark (55 to 70% cocoa) | 50-55 °C | 28-29 °C | 31-32 °C |
| Milk | 45-50 °C | 27-28 °C | 29-30 °C |
| White | 40-45 °C | 26-27 °C | 28-29 °C |
| Ruby / blond | 40-45 °C | 26-27 °C | 28-29 °C |
These values are landmarks. The exact curve depends on the cocoa butter content and the fluidity of the recipe, and it is printed on the packaging of any professional couverture: that is the one that counts. A Belcolade Noir Selection and a Callebaut 811 don't ask for exactly the same warm-up, even though both sit around 31 °C.
How do you temper chocolate by seeding, step by step?
Seeding means cooling melted chocolate by stirring in unmelted chocolate that is already crystallised. The good crystals of the second contaminate the first. It is the most forgiving method at home, because it needs neither marble nor a machine.
- Weigh and separate. From 300 g of callets, put 200 g in the bowl and set the remaining 100 g aside at room temperature. Time: 2 minutes.
- Melt two thirds over a bain-marie. Simmering water, never boiling, and the bowl must not touch the water. Take dark chocolate to 50-55 °C, stirring regularly. Time: 8 to 10 minutes.
- Remove from the heat and wipe the base of the bowl. A single drop of condensation falling into the chocolate is enough to ruin it.
- Add the reserved third, in two goes. Stir constantly with the spatula, scraping the sides. The cold chocolate melts and cools the mass.
- Bring it down to 28-29 °C. Keep stirring until the thermometer shows the crystallisation temperature. A few unmelted callets may remain: fish them out. Time: 5 to 10 minutes.
- Warm back up to 31-32 °C. Five to ten seconds over the warm bain-marie, off the heat, stirring. This is where most attempts fail: two degrees too many erase every crystal and you start over.
- Work straight away. Tempered chocolate stays usable for about twenty minutes if you keep the bowl warm on a folded cloth, never directly on the worktop.
Professionals use a faster variant, documented by Callebaut in its academy: melt at 45 °C, drop the machine thermostat straight to ±31 °C for dark or ±29 °C for milk and white, then add 5% callets at ambient temperature (15 to 20 °C). No stop at 27 °C. A Chocolate Academy chef confirmed it again in the comments in March: with the seeding method you go from 45 °C directly to the working temperature. That version assumes a machine that holds temperature — with a saucepan, the dip to 28-29 °C remains the safest net.
Do you really need a marble slab?
Not at home, no. Tabling gives a beautiful result and very fine control, but it needs space, a cold marble or granite surface, a palette knife, a scraper, and it messes up an entire kitchen for 200 g of chocolate.
The principle, described by Callebaut for working on a marble worktop, is to pour two thirds of the melted chocolate onto the cold stone, keep it moving continuously with a palette knife and scraper until it thickens, then return it to the third left warm. It looks spectacular, it is fast on large volumes, and that is why you always see the gesture in workshop windows.
✓ Pros
- Tabling: very fast cooling
- Tabling: visual control of crystallisation
- Seeding: no special equipment
- Seeding: no chocolate lost on the worktop
✗ Cons
- Tabling: needs a cold marble slab and space
- Tabling: long clean-up, chocolate lost on the stone
- Seeding: slower on large volumes
Marble is not a badge of seriousness. A chocolatier who tables does it to move ten kilos quickly, not to impress the window.
Can you temper chocolate in a microwave?
Yes, and it is a good option for small quantities, provided you never take your eyes off the bowl. Callebaut describes the method in its tutorials: a glass or plastic bowl, 800 to 1000 W, and short bursts.
The gesture: 20 seconds, take it out, stir, back in for 15 seconds, and so on. Stop when two thirds have melted and visible pieces remain — residual heat finishes the job as you stir, and that unmelted remainder is exactly what plays the seeding role. A thermometer is still essential to check you have not overshot the curve.
The classic mistake is setting two minutes in one go. A microwave heats in zones: the chocolate looks intact on the surface and is already at 60 °C in the centre, burnt, sandy, beyond saving. With white chocolate the accident happens in under a minute.
How do you know the tempering worked?
The knife test, in five minutes. Dip the tip of a knife or a strip of baking paper into the chocolate, set it down at 18-20 °C, and watch.
Properly tempered chocolate sets in three to five minutes, dry to the touch, glossy, even, with no streaks or marbling. If it is still tacky after ten minutes, if it dries matt, or if it shows pale streaks or patches, crystallisation failed. Melt it down and start again: nothing is lost as long as no water got in.
The second test comes the next day. Correctly crystallised chocolate unmoulds by itself — it contracts on cooling and lifts off the polycarbonate. If you have to force it, the tempering was borderline, even if the gloss looked right coming out.
Can you temper a supermarket bar?
No, and it isn't a question of quality. An eating bar contains less than 31% cocoa butter and often soy lecithin: it lacks the fluidity needed to form a thin shell and to temper cleanly.
Côte d'Or dark sits at 46% cocoa and melts beautifully — for a fondant, a mousse or a hot sauce it is perfect and half the price per kilo. For enrobing it stays thick, matt, and turns white within days. That is not a manufacturing flaw: the brand, Belgian since 1883, makes a product designed to be eaten, not worked.
The rule is simple: look for the words "couverture chocolate" and a cocoa butter content of at least 31% on the label. Below that, whatever the brand, tempering will not take.
Which mistakes ruin a tempering?
Four, and none of them depends on the brand you bought.
Water. A badly dried whisk, steam falling back in, and the chocolate seizes instantly into a compact paste. Beyond saving for enrobing — turn it into a ganache, where water is no longer a problem.
Overheating. Past the melting temperature, chocolate thickens and turns grainy. With white, the margin is only a few degrees.
A kitchen that's too warm. Workshops run between 18 and 20 °C. Above 22 °C the cooling phase drags on forever and the chocolate never sets properly. That is exactly why enrobing fails in July and succeeds in January with the same chocolate and the same gesture.
Not enough movement. Callebaut sums tempering up in three principles: time, temperature and movement. You stir continuously through the cooling phase, otherwise crystals form against the cold sides of the bowl instead of throughout the mass.
Which Belgian chocolate should you buy to start?
Callebaut 811 callets for dark and 823 for milk. They are the two easiest references to find at retail in Belgium, they forgive approximations, and they come out of the Wieze factory where the house has been making chocolate since 1911.
If you want to know where your cocoa comes from, Belcolade is the most consistent Belgian alternative: the brand, born at Puratos and produced in Erembodegem, runs on the Cacao-Trace programme, and its plant was presented by the Belgian food federation Fevia as the country's first carbon-neutral chocolate factory. Retail availability is the weak point: you mostly find it at specialist resellers and in the horeca trade, often in 5 kg bags.
One last honest note about the great signatures. Origin bars from houses like Pierre Marcolini are remarkable at tasting, but they are made to be eaten: they are neither calibrated for fluidity nor intended for tempering. Keep them for a plain ganache where the cocoa is the star, and let couverture do the enrobing work. We go into it in our piece on Belgian dark chocolate.
Once the discs are unmoulded, the job is keeping them glossy: our advice on storing Belgian chocolate prevents the three-day bloom. And if you want to find out what kind of chocolate lover you are before filling your cupboard, take the chocolate quiz.
Pralines & spécialités comparator
Compare all pralines & spécialités side by side.
Compare now →
Frequently asked questions
Bruxelloise pur sucre, Margaux arpente les chocolateries belges depuis plus de dix ans. Ancienne pâtissière reconvertie dans le journalisme gourmand, elle goûte, compare et raconte le chocolat belge sans complaisance — des grandes maisons aux ateliers de quartier.